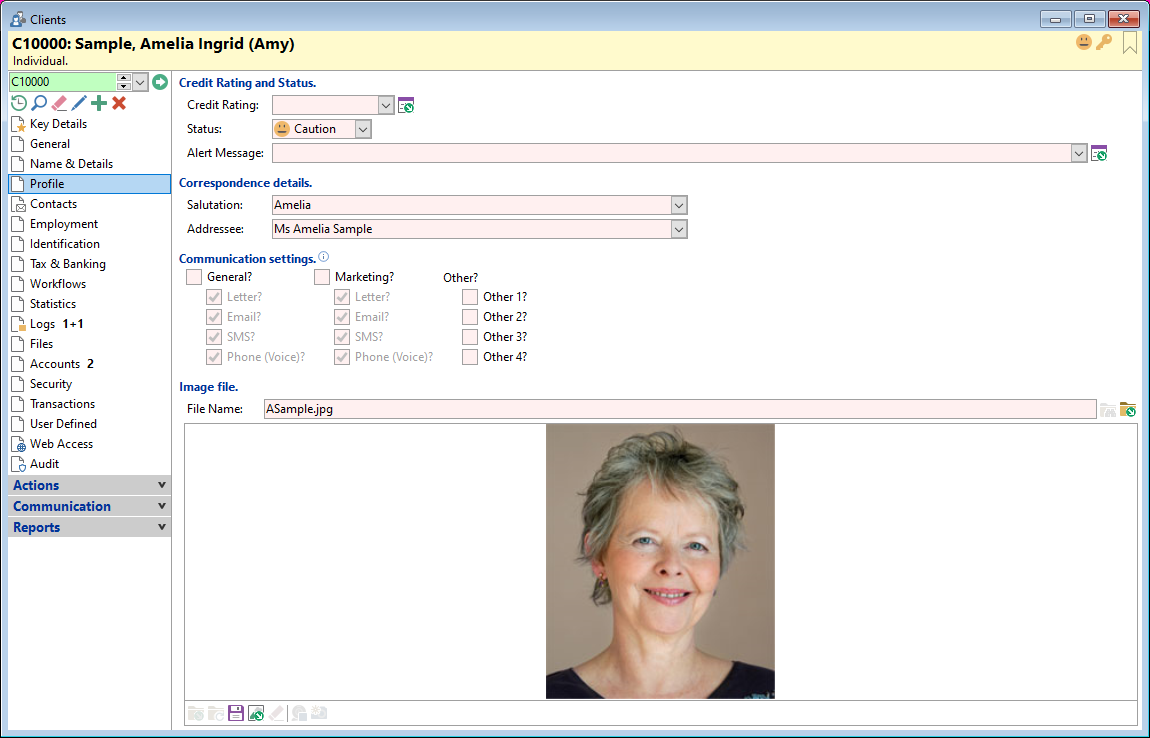
Credit Rating
Optionally enter a Credit Rating for this Client.
Status
From the Caution Status dropdown select status. Options are:
| Icon | Status |
|---|---|
| <BLANK> | None |
 | Excellent |
 | Good |
 | Caution |
 | Bad |
 | Adverse |
 | Bankrupt |
Caution Status alerts will alert the user to a Clients status if specified in Tools, User Preferences, General, User Interface Page by ticking the "Colour Form Headings?" checkbox.
Alert Message
Optionally specify an Alert Message. This is limited to 100 characters and will show prominently in the Key Details Pages & will display and alert icon with a tooltip in the form heading.
Salutation
Enter the salutation for client correspondence or select it from the dropdown. Alternatively you may have this default from the Salutation specified in Global Settings.
Addressee
Optionally enter an Addressee, this will be used within all standard VBA's for the Clients address name. Alternatively you may have this default from the Addressee specified in Global Settings.
Communication settings
These flags can be used by Scripts and Documents to determine whether to communicate with a Client.
Letter, Email, SMS or Phone (Voice)
These Communication Flags can be used within your custom VBA's for additional client requirements.
Other fields
The Other Communication Flag heading and checkbox labels can be customised in Global Settings.
Image file
Displays clients photo.
Button Strip
| Icon | Description |
|---|---|
 | Load an Image |
 | Reload an Image |
 | Save an Image |
 | Open the Image with an associated application |
 | Clear the Image |
 | Start the WebCam |
 | Stop the WebCam |
 | Capture the Image using the WebCam |
 | Show the source dialog |
| Show the format dialog |