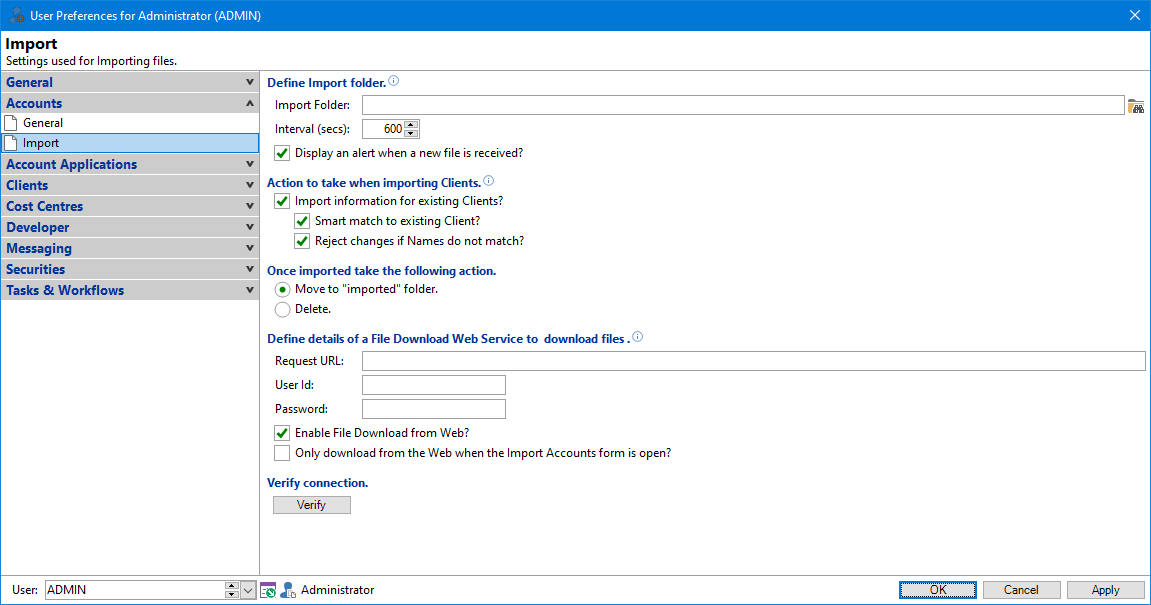
Import Folder
Enter the Import folder location where files will be saved. Alternatively click the Browse button to select the folder.
Interval (secs)
Enter the interval (in seconds) that finPOWER Connect checks for new files being available in the Import Folder.
Display an alert when a new file is received?
Tick to have finPOWER Connect notify you when a new file arrives ready to be imported.
Import information for existing Clients?
Tick to import details for existing clients.
Smart match to existing Client?
Tick to match based on the Client's Name, Date of Birth and Gender or Name and Company Number.
Reject changes if Names do not match?
Tick to reject import if an existing clients information does not match.
Move to "imported" folder?
Tick to move the XML to a specified location after import.
Delete?
Tick to delete the XML after import.
Request URL
Define the Request URL to download files from a Web Server into the import folder specified above.
User Id / Password
The UserId and Password must match those defined by the Web Service and configured on the Web Server.
Enable File download from Web?
Tick if this User is able to download files from the Web Server.
Only download from the Web when the Import Accounts form is open?
Tick if files are only to be downloaded when the Import Accounts form is open.
Verify
Click the Verify button to verify the connection to Web Server has been configured correctly.