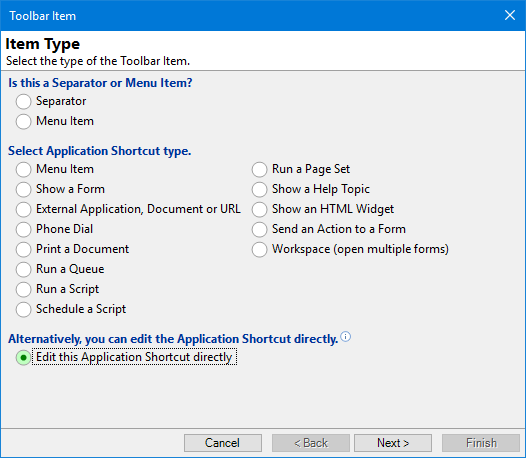
To add a Menu Item to your toolbar Image.png) , from the Toolbar Item Wizard select Menu Item and click next.
, from the Toolbar Item Wizard select Menu Item and click next.
To go to the tool item wizard, click here for the Help topic "Customising Toolbars".
There are two ways to select a menu item for display on the Toolbar:
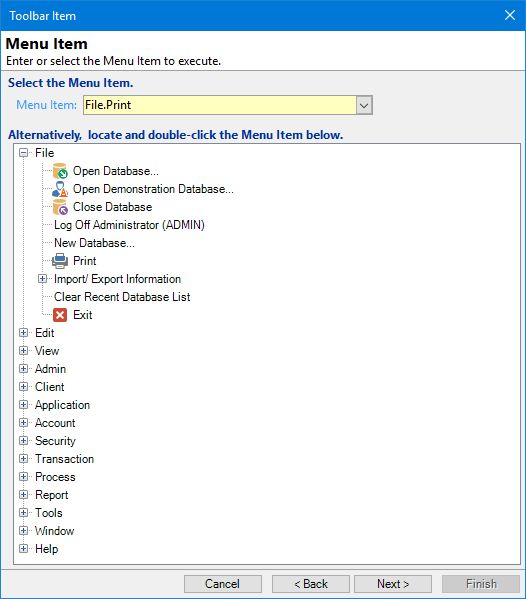
1. Select the Menu Item
Choose the menu item from the dropdown list
2. Locate and double-click the Menu Item below
Expand the tree on the relevant menu and select the menu item. Double click the item to insert it into the Menu Item field.
Click  .
.
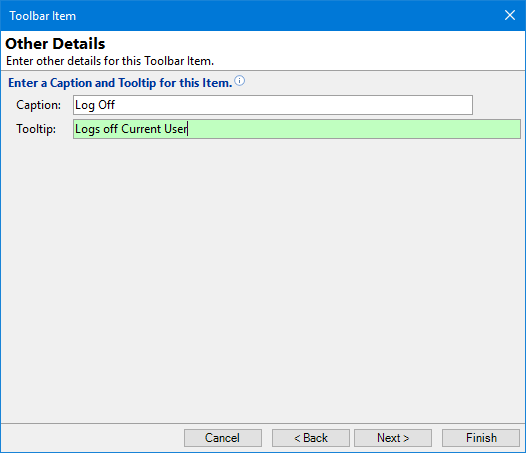
Other Details
Label your new button accordingly, and write a tool tip that will appear when you hover over the button to explain in more depth what the button does.
Click .
Optionally choose an icon to represent your Menu Item from either the dropdown list or import your own image.
Then click
 . You will return to the ToolBar Item form, from here you can choose where you would like to position the new item using the button strip below or you can click
  and then again.
Button Strip
| Icon | Definition |
|---|---|
 | Add a new Toolbar Item |
 | Delete selected row |
 | Select all rows |
 | Select no rows |
 | Select all rows above including the current row |
 | Select all rows below including the current row |
 | Move the current row up (Ctrl+Up) |
 | Move the current row up (Ctrl+Down) |
 | Cut the selection to the Clipboard |
 | Copy selection to the Clipboard |
 | Paste from the Clipboard |
 | Click to reset this Toolbar to the default Items |