Once a Document has been created it can be run from the Bulk Documents wizard within the Report Explorer or Admin, Documents, Tools, Run Document page.
For either of these options to work, the following checkboxes on the Options page must be ticked:
- Allows Standalone running of this document.
- Show in the Report Explorer.
To run a Document
The example described below uses the provided 'Account Advice (SMS)' document which is targeted to Accounts and sent using the Messaging Interface via Cost Centres.
Other types of documents will have additional fields, less fields and/or slightly different fields to choose from.
- From the Document, select Run Document
 .
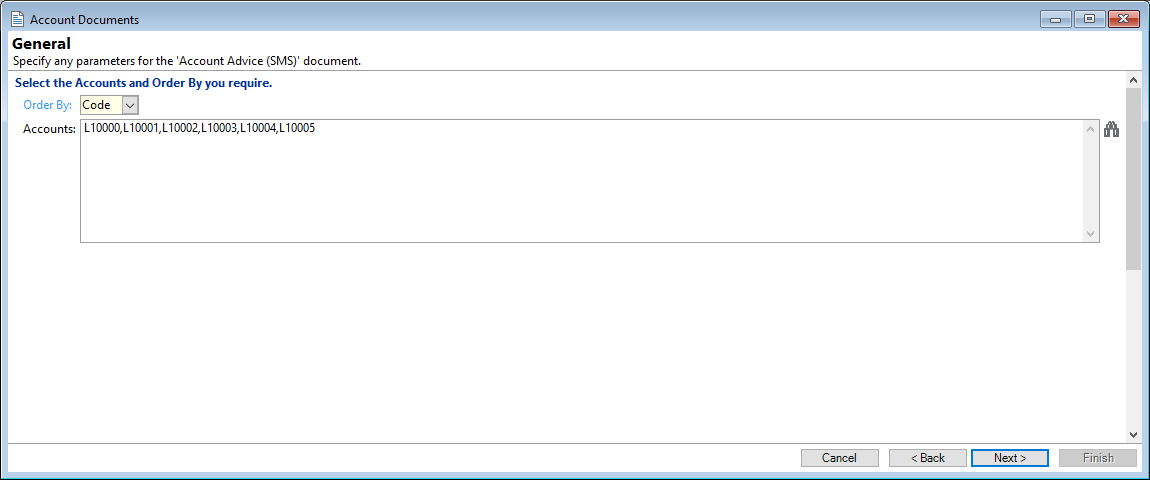
. - General page - Select the Order By and select a Range or leave blank to include all. The range will be determined by the Document type and the type of Object it targets.
- Click Next.
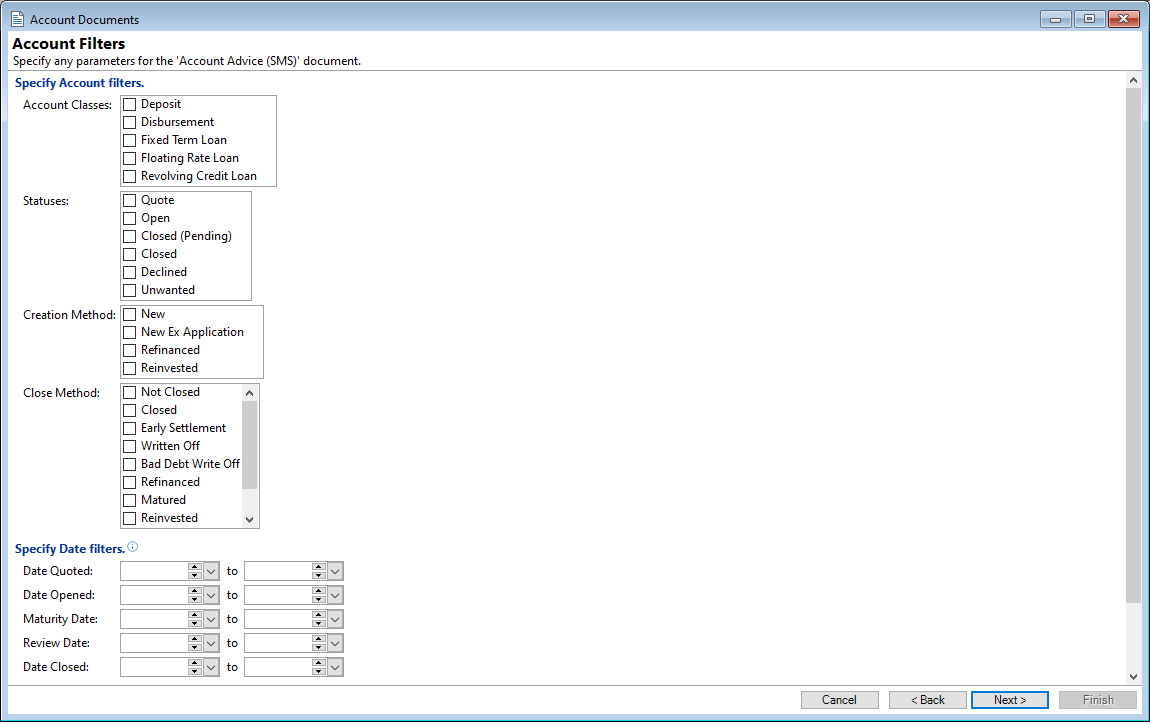
- Account Filters page - Select any 'Filters' that are required.
- Click Next.
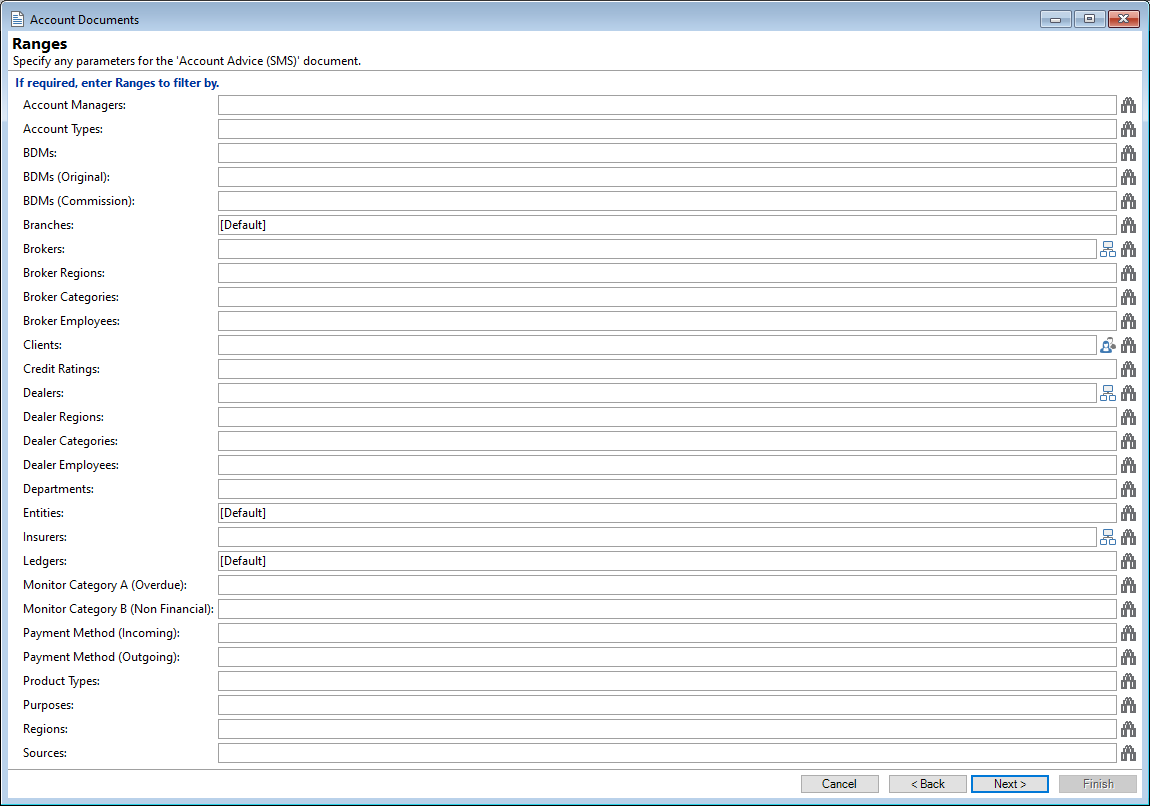
- Ranges page - Select any 'Ranges' that are required.
- Click Next.
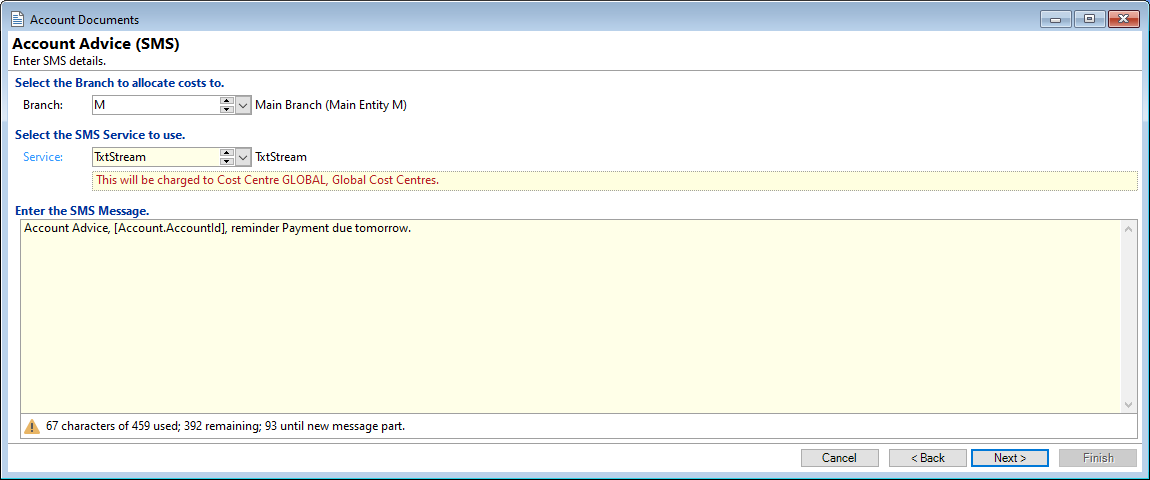
- Account Advice (SMS) page - Select the 'Branch' and select the 'Service' to use.
- Click Next.
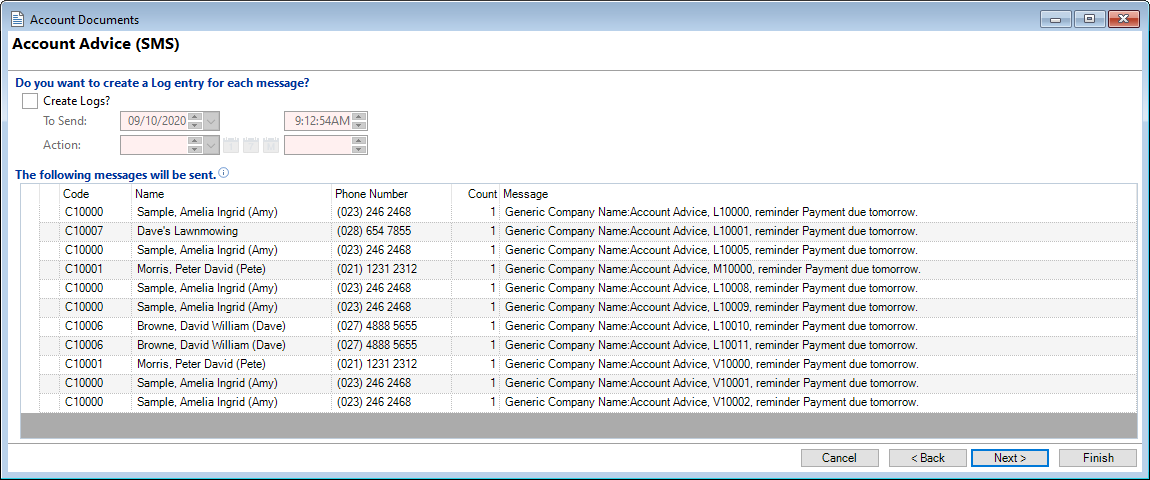
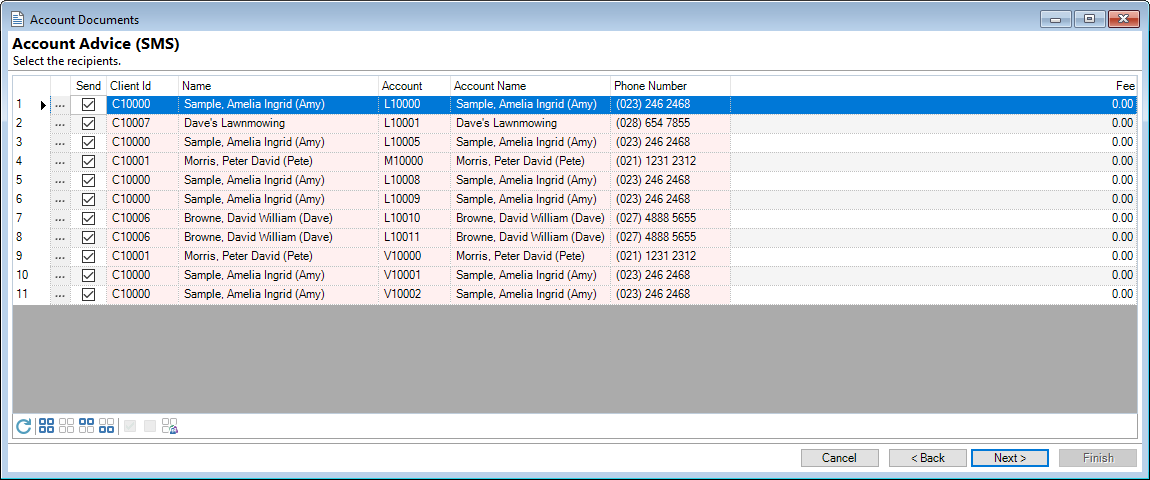
- Select the recipients - A list of the Accounts selected from the first page will show here, with detail of the associated Clients and Phone Number. The detail is displayed in grid form.
- Click Next.
- Create a Log - This Page allows you to create a log for each message - to do this tick the 'Create Logs' checkbox.
- Click Finish to Run the Document, or click Next which will take you to the next page with options to Save Settings and/or Add to Queue, after which you can click Finish to run the document.
The screenshot below shows Accounts as the Document selected is an Account Type document.
The SMS Message to be sent shows on this page and can be amended.
The recipients can be selected or unselected by ticking the 'Send' checkbox.
The page also shows the recipients of the message and how the message displays with all Smart Tags resolved.