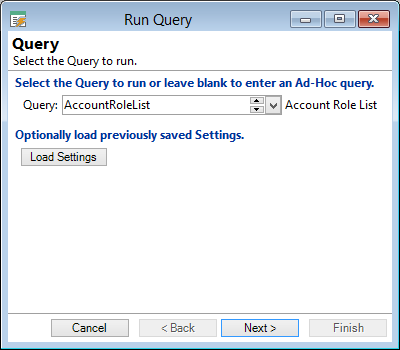
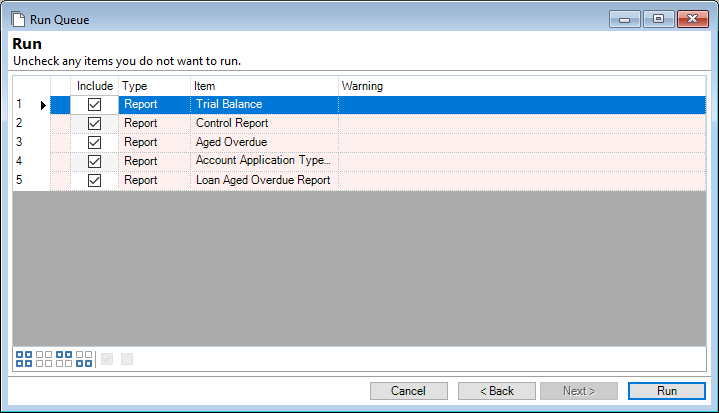
To run a Run Query
- From the Report menu, click Run Query.
- From the dropdown select the query to run.
- Click Next.
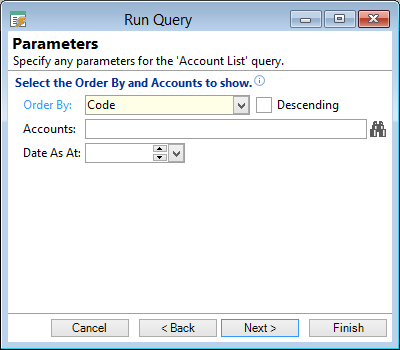
Order By
From the dropdown you can select the order in which the query report to appear. Check the Descending checkbox (if applicable).
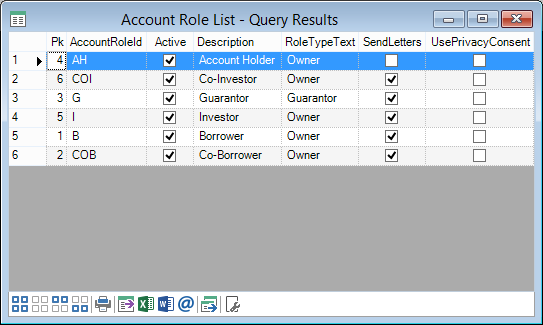
Account Roles
By using the lookup you can select account roles to print or leave blank for all accounts.
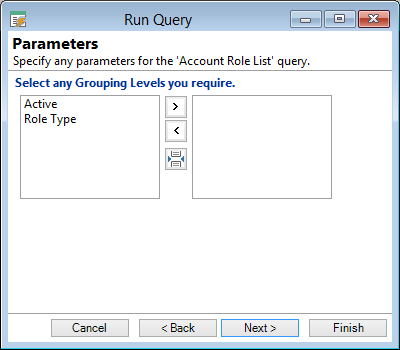
Select any Grouping Levels you require
Select the Group item required and click  to move the selected item to the Right hand box.
Alternatively double click the grouping level to move the item to the box on the right.
To undo groupings select the Group item you wish to remove on the right and click
to move the selected item to the Right hand box.
Alternatively double click the grouping level to move the item to the box on the right.
To undo groupings select the Group item you wish to remove on the right and click  .
.
To Insert a Page Break after the selected grouping
- Click
 to insert a Page Break after any selected grouping option.
 - Click Next.
By clicking the Page Break button after a selected grouping level, a page break will be inserted every time a new group item appears. Eg. a page break can be placed after Role Type, which will start a new page for each role type.
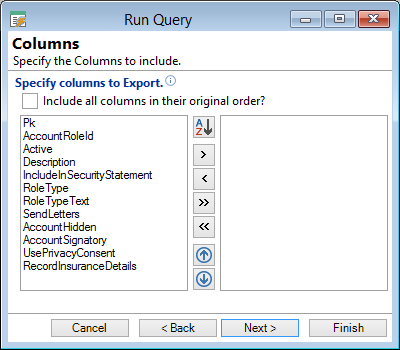
Specify columns to Export
Check the applicable checkbox to include all columns in their original order. Leave blank if not required.
The available grouping options are displayed in the left hand box.
Select the Column list required and click the button to move the selected item to the Right hand box.
Alternatively double click the grouping level to move the item to the box on the right.
To undo groupings select the Column you wish to remove on the right and click .
Click the  button to move all items to the right hand box. Alternatively click the
  button to move all items to the left hand box.
Click the  button to move an item in the right box upwards, or click the
  button to move an item downwards.
- Click Next
- Click Finish to see Query Results.
Button Strip
| Icon | Definition |
|---|---|
 | Print Report (Ctrl+P) |
 | Export report data |
 | Analyse with Excel |
 | Publish to Word |
 | Send as an HTML email |
 | Merge these Queries results with the results of a Query shown on another form |
 | View Data Table. Shows the response from that table only. Only shows on certain reports ie: Account Control Report |
 | Displays Query details |