Sign Up
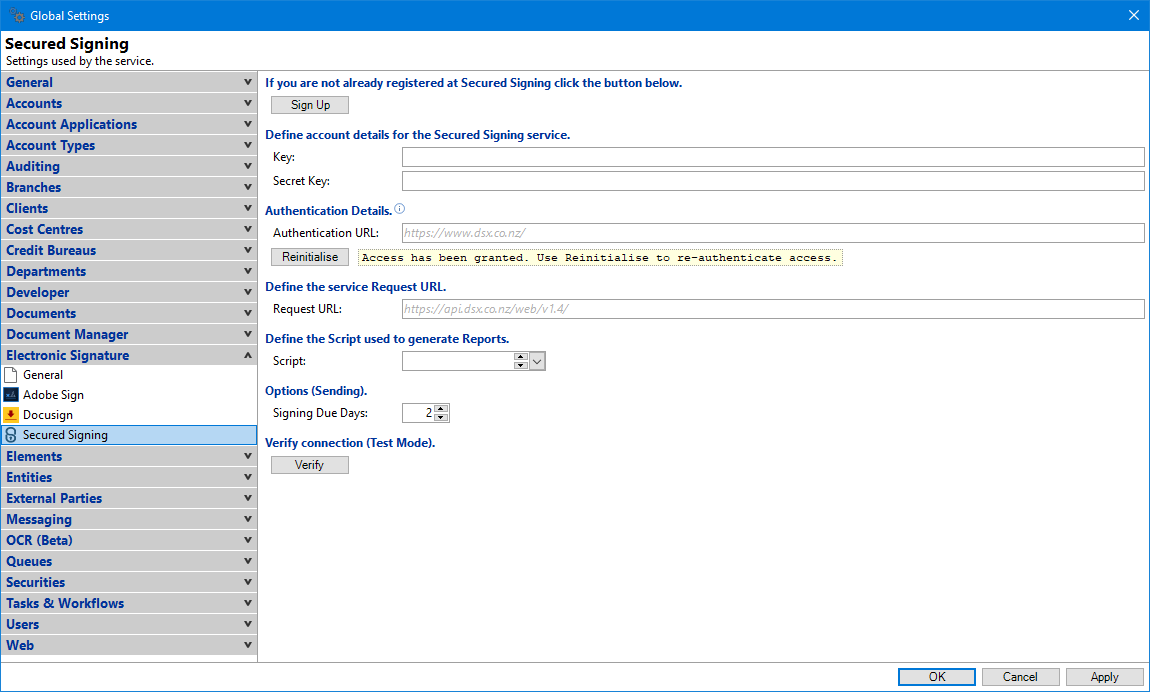
Click the Sign Up Button if you are not registered at Secured Signing and would like to be able to use the Electronic Signature functionality.
Key
Enter the Key as shown in the API Application when logged into Secured Signing.
Secret Key
Enter the Secret Key as shown in the API Application when logged into Secured Signing.
Authentication URL
Specify the Authentication URL that is required to give your Secured Signing account access. Alternatively leave blank to use the blank tip URL.
Initialise/Reinitialise
Click to Initialise & give finPOWER Connect authorisation to use your account.
Request URL
Specify the address the browser will use, when authentication is complete.
Script
To use a custom Electronic Signature Report, define the Script used to generate this.
Signing due days
Specify the number of days the signer has to sign before the document expires.
Verify
Click on the Verify button to check connection and ensure account details have been entered correctly. This displays whether the verification is on the Test or Production site.
Also, includes information regarding Documents Used, Documents Left, Account Status, Email Templates and Attachments (this includes the Reference which might be used when sending Documents for signing).