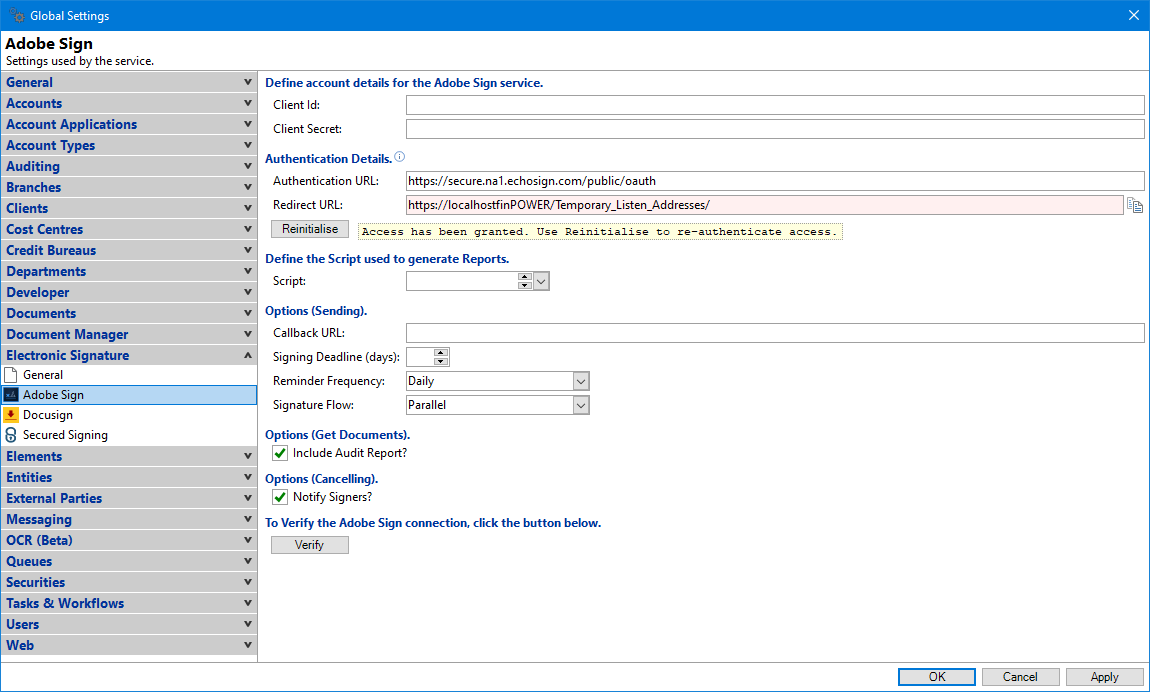
Client Id
Enter the Client Id as shown in the API Application when logged into Adobe Sign.
Client Secret
Enter the Client Secret Key as shown in the API Application when logged into Adobe Sign.
Authentication URL
Specify the Authentication URL that is required to give your Adobe account access. Alternatively leave blank to use the blank tip URL.
Redirect URL
Specify the address the browser will use when authentication is complete.
Initialise/Reinitialise
Click to Initialise and give finPOWER Connect authorisation to use your account.
Script
Select a Script that will used to generate a custom Electronic Signature Report.
Callback URL
Enter a URL that "listens" for the result of actions, such as when someone signs the document.
Signing Deadline (days)
Specify the number of days the signer has to sign before the document expires. If left blank the "Deadline" days from Adobe defaults will be used.
Reminder Frequency
Select whether the Signer is to receive Daily or Weekly reminders that their document is unsigned.
Signature Flow
Select the order in which the Signers receive the document to sign.
Include Audit Report
Tick to specify whether the Audit report is to be included when the Documents are received.
Notify Signers?
Tick to notify signers (via email) if the document is Cancelled.
Verify
Click the Verify button to check connection and ensure account details have been entered correctly.