Statements Block
The Statements Block of the Status Summary page contains the following action buttons:
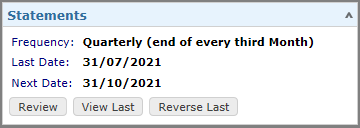
 - Review Statement Cycle.
 - View Last Statement Document.
 - Reverse Last Statement.
The Button Strip has the following corresponding buttons:
 - Review Statement Cycle.
  - Reverse Last Statement.
An explanation of the Buttons is shown in the sections below.
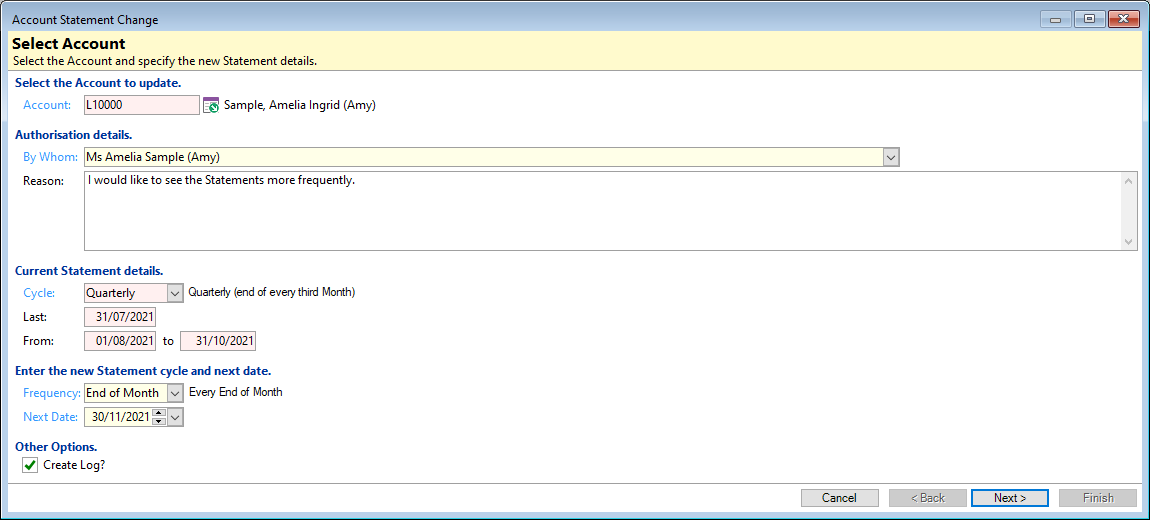
Review Statement Cycle
- Click on either the action button or the icon found in the Button Strip.
- The wizard shows a number of fields to fill in.
- Select from the dropdown list the person who has 'Authorised' this change By Whom and enter a Reason for the change.
- The Current Statement Details are shown in the next section and cannot be changed.
- Enter the new Statement cycle and next date by changing the Frequency and the Next Date.
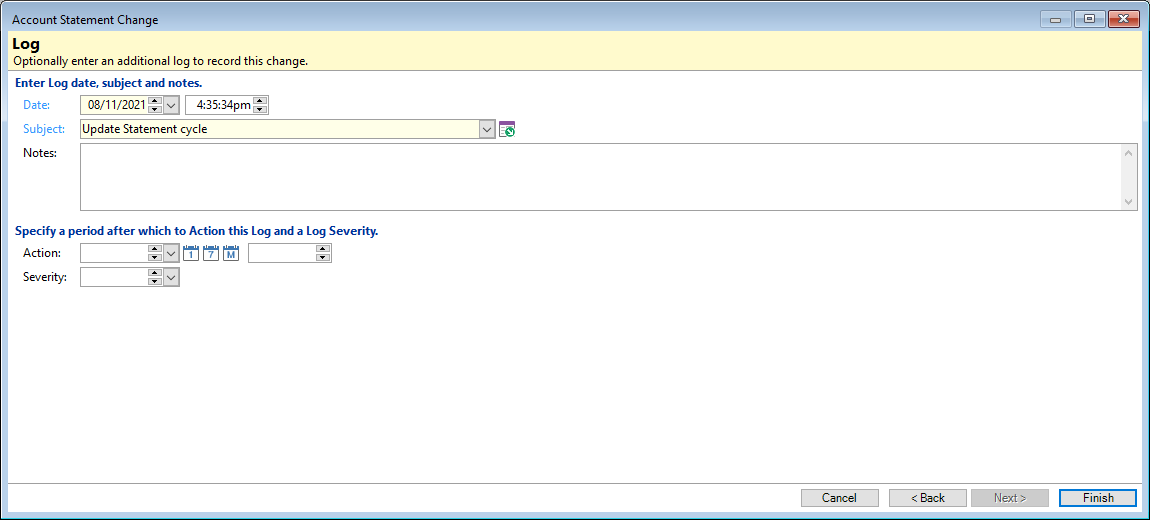
- Tick the Other Options checkbox to 'Create a Log', tick the Next button to move the next screen. Leave unticked and click the Finish button to complete the change.
- Fill in all the necessary fields for the log.
The Account Statement History page will pop up.

Click on the 'Edit' icon -  to move into the Account Statement Change wizard.
Click the Finish button to complete the wizard.
View Last Statement
Click on the action button; this will bring you into the Statement Document log.
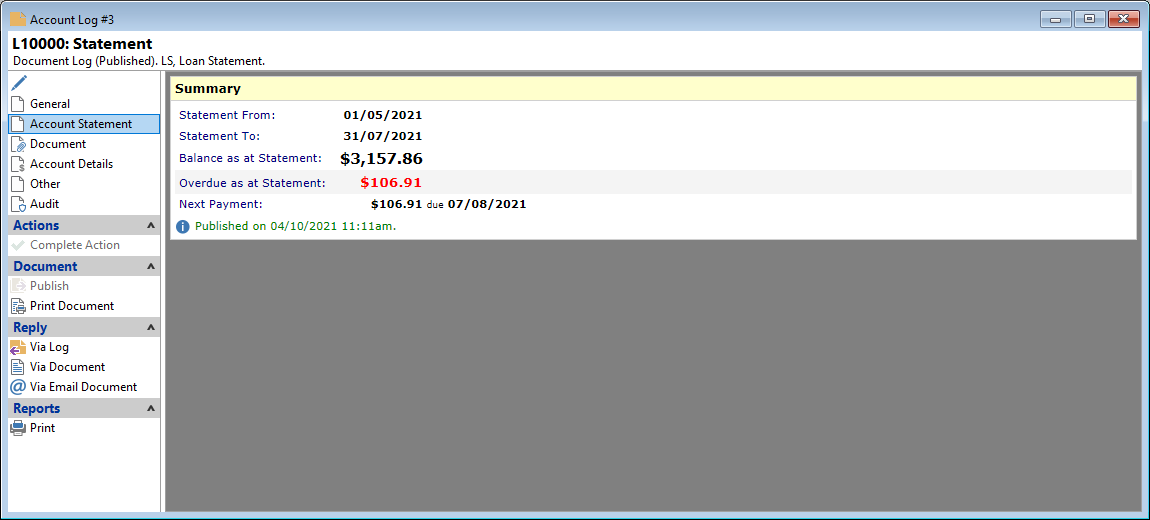
- General - general log page, which includes any Actions that need to be completed.
- Account Statement - Statement Summary information.
- Document - a link to the Statement document that was produced.
- Account Details - Account Summary details 'as at' the date of the Statement.
- Other - Other information including the Owner and Role.
- Audit - Audit of the Statement document including whether it is linked to a Workflow.
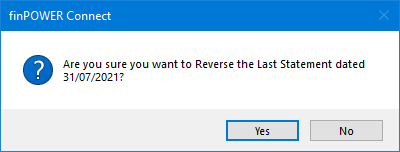
Reverse Last Statement
Click the action button or the corresponding icon in the Button strip , and this will reverse the Last Statement that was produced.
A message will pop up asking if you are sure you would like to reverse the 'Last Statement'.